
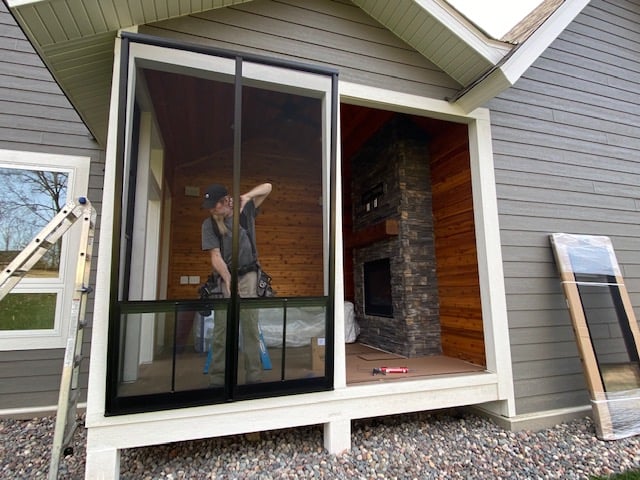
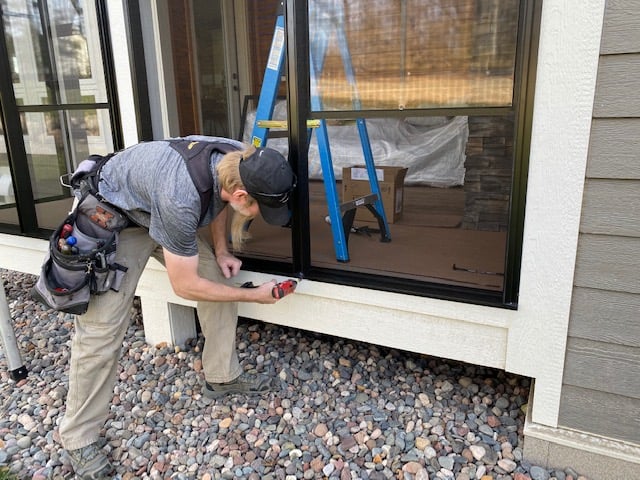
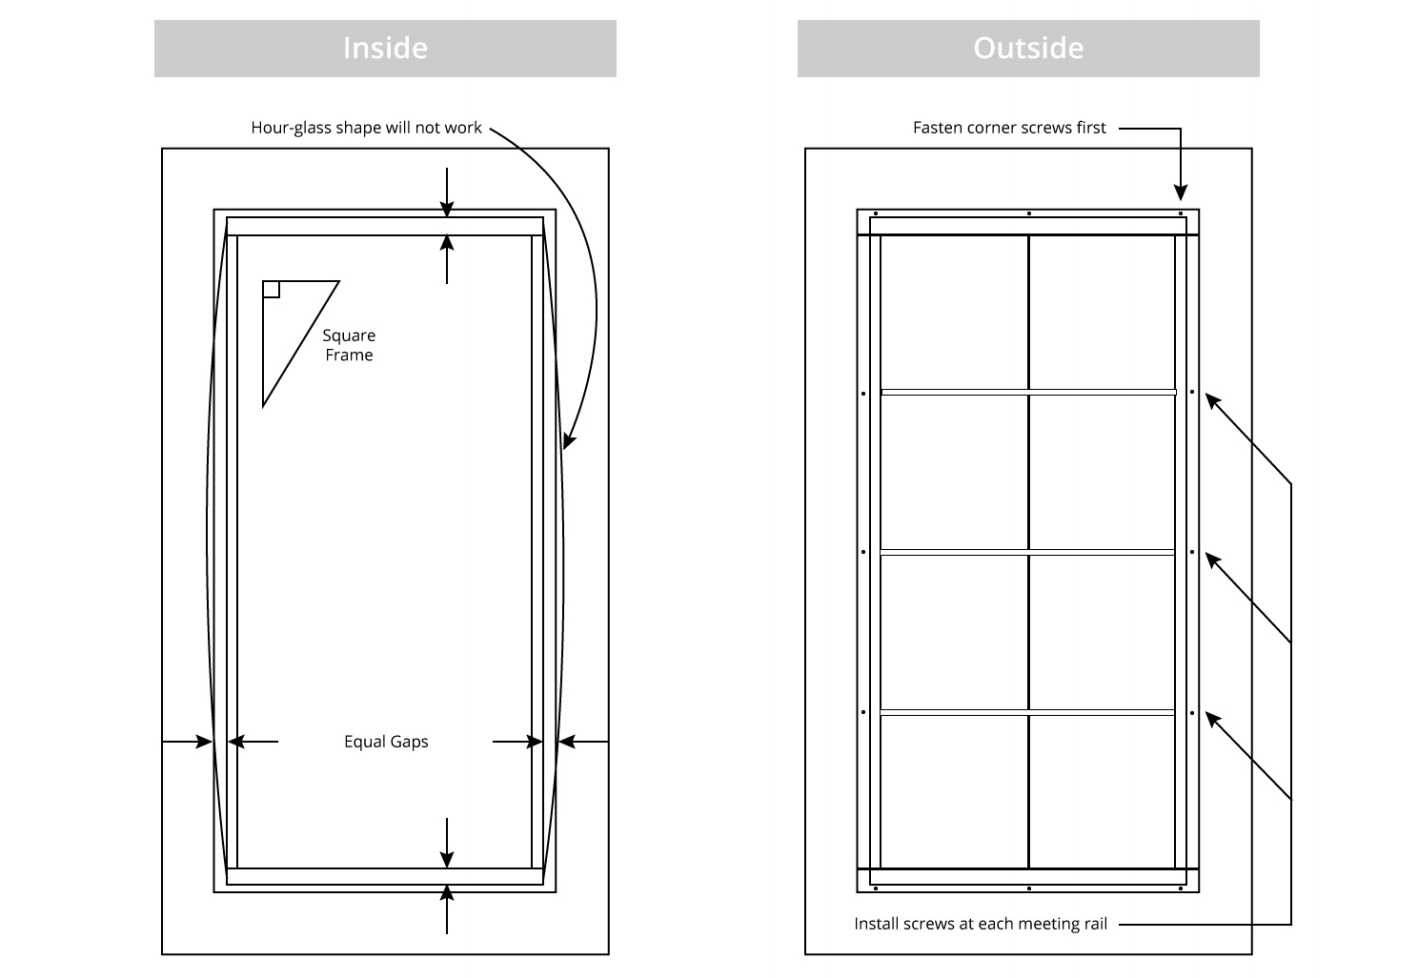
Sunspace porch windows have a 1” flange and are designed to be fastened through this flange into framing structure. Silicone caulking and color matched screws are provided.
 |
 |
Not sure if you're up for self-installation?
Find out the benefits of having Sunspace Twin Cities install your porch windows »
Sunspace Twin Cities offers great design ideas and excellent service from start to finish.

![]()
Sunspace Twin Cities
8100 Old Cedar Ave S #350
Bloomington, MN 55425
MN License # BC791651
Schedule a Showroom Visit
(651) 505-0062
sales@sunspacetwincities.com
![]()
![]()
![]()


Let's meet at our showroom to show you our porch window options.
8100 Old Cedar Ave S #350
Bloomington, MN 55425
If you have photos and some rough measurements, send them our way to get the conversation rolling on options and pricing packages.

We want to make sure your Sunspace Porch Windows are working properly. Please contact us if you are having any trouble. We are here to help!

